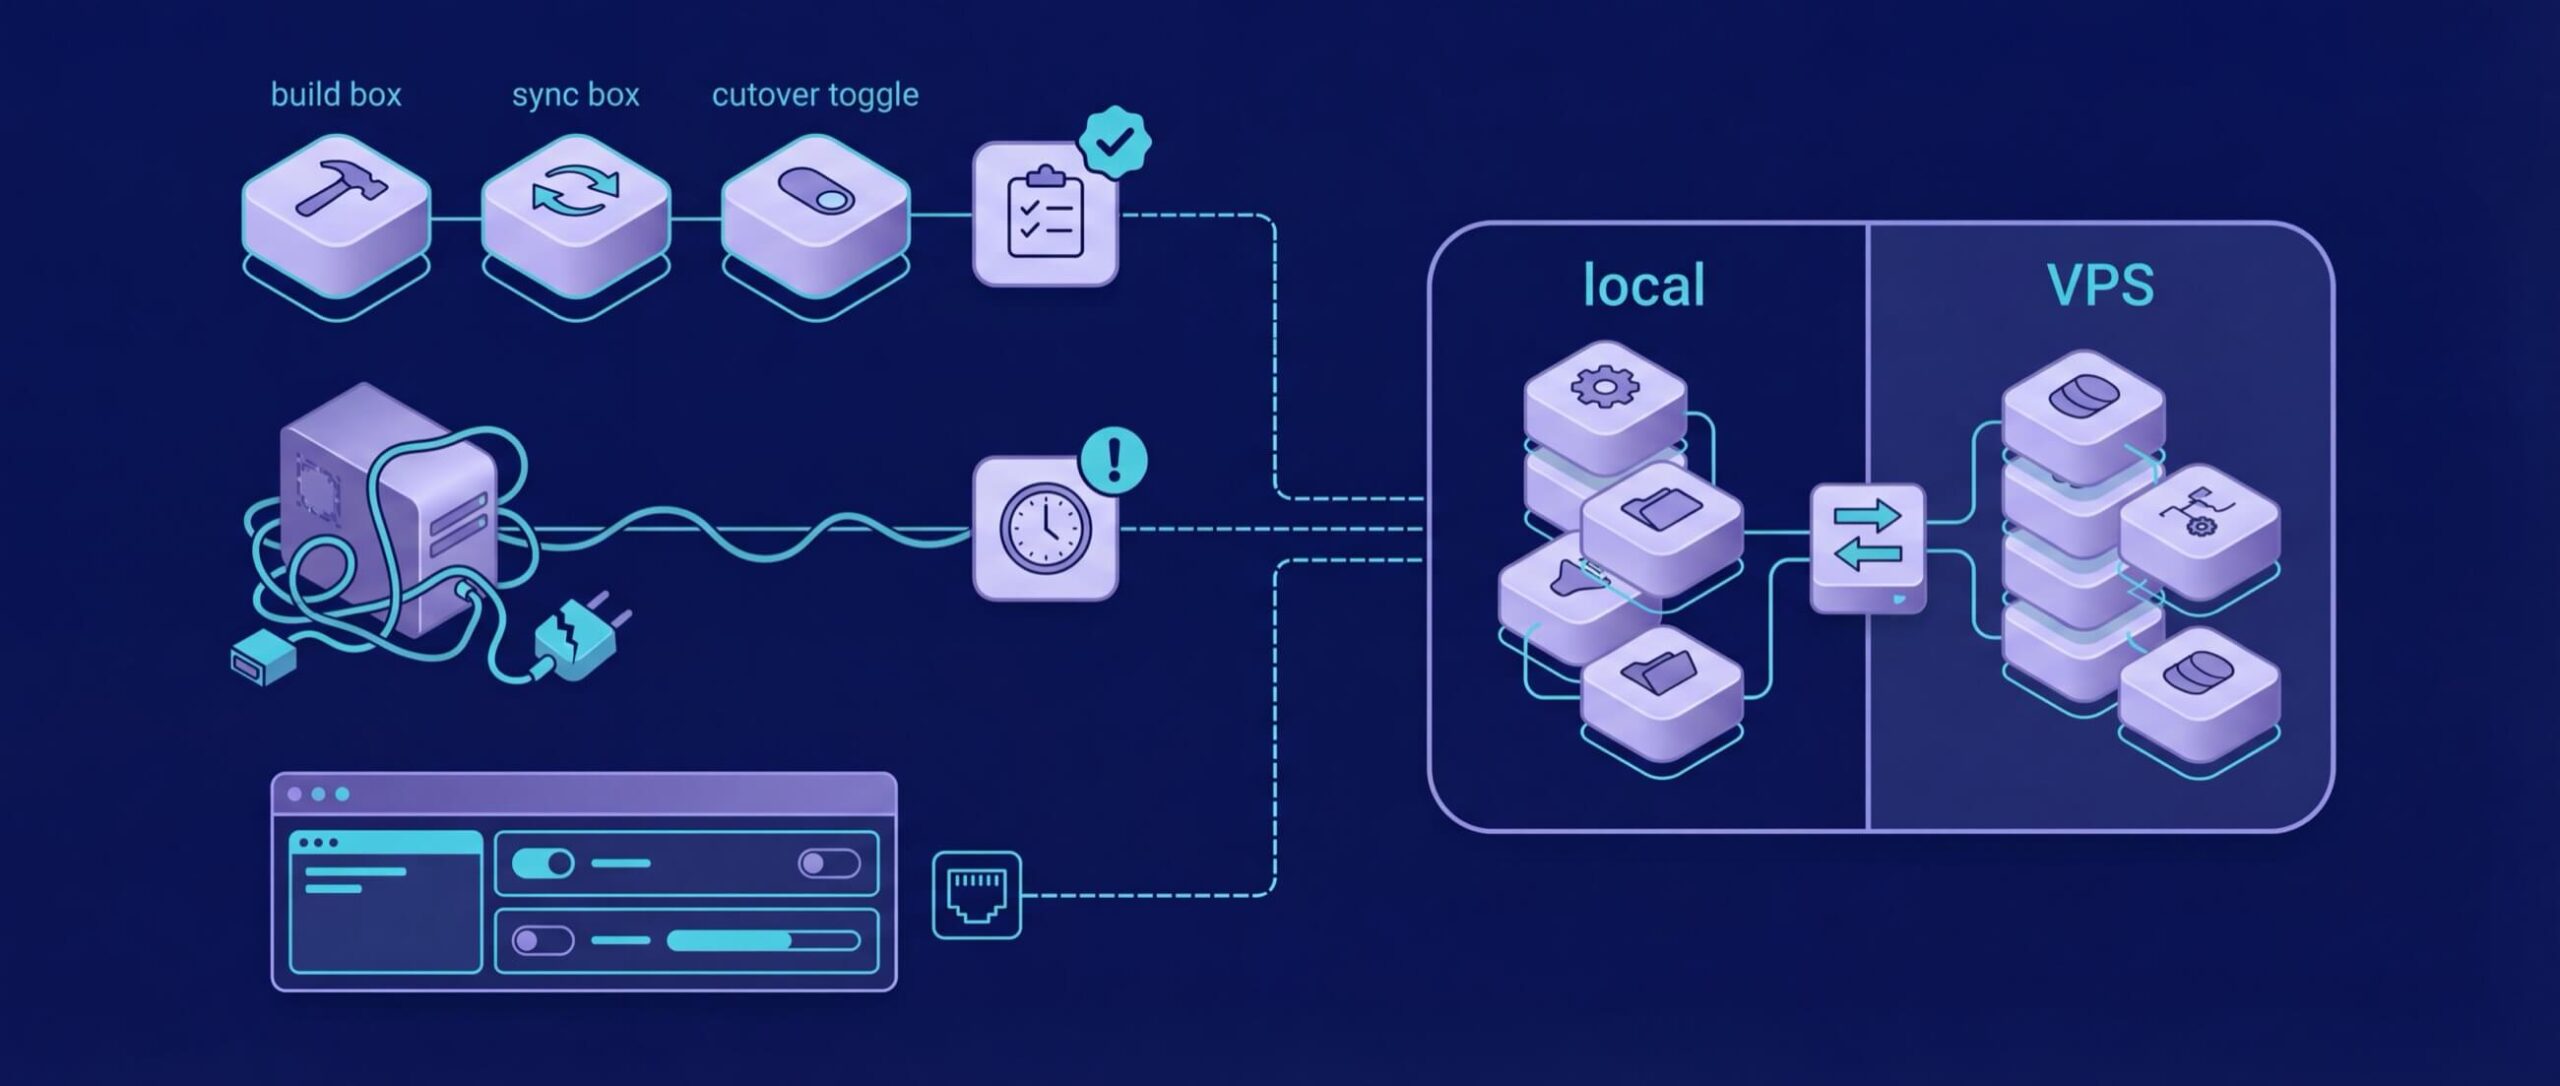
Migrating your local n8n setup to a VPS ensures better reliability, lower costs, and improved performance for handling production workflows. This guide covers everything you need to know to make the transition smooth and avoid downtime. Here’s the key takeaway:
- Why move to a VPS? A VPS offers consistent uptime, faster webhook responses, and eliminates issues like power outages or dynamic IPs. Plus, it can save you money – cutting costs from tools like Zapier ($500/month) to under $15/month for a VPS.
- What you’ll need: Back up your database, data directory, and environment variables. Secure your encryption key – losing it means losing access to credentials.
- Steps to migrate: Export data from your local setup, configure your VPS with Docker, transfer files, restore data, and test workflows.
- Avoid downtime: Lower DNS TTL before switching traffic, test webhooks, and ensure SSL is properly configured.
Pre-Migration Planning and Preparation
Getting your n8n setup ready for migration from a local environment to a VPS requires careful preparation. Start by reviewing your current configuration. Determine if n8n is running via Docker or npm and confirm the type of database in use. To identify the database type, run docker ps or docker compose ps on your local machine. This will also help you locate your data volume paths. For Docker, the data is typically stored in /home/node/.n8n, while npm installations use ~/.n8n.
One critical element of this process is securing your encryption key. Without it, you won’t be able to access stored credentials after the migration. As Roland Lopez emphasizes: “The encryption key is the single point of failure. Set it, back it up, and verify you can restore before you need to.” If you don’t see N8N_ENCRYPTION_KEY in your .env file, check inside the Docker container using docker exec n8n cat /home/node/.n8n/config to locate the auto-generated key. Once found, store it securely in a password manager.
Check Your Current Setup and Requirements
Ensure your VPS can handle your n8n workflows. At a minimum, its resources should match or exceed what your local setup uses. For basic workflows with a few hundred executions per day, a VPS with 2GB RAM and 2 vCPUs (costing around $6–$12 per month) should be sufficient. For more complex setups, like queue mode with Redis, you’ll need at least 4GB of RAM and multiple CPU cores.
🚀 Launch Your First n8n Automation in Under 5 Minutes
Your quick start checklist
Additionally, take note of any network dependencies. If your local setup uses webhook URLs pointing to localhost or a tunneling service, these will need to be updated to reflect your new VPS domain. Similarly, update any internal integrations that rely on your local IP address to point to the new environment.
Create Backups and a Rollback Plan
Backups are essential for a smooth migration. Focus on four key components: the database, data directory, environment variables, and webhook configurations. Stop the n8n service before creating backups to avoid file corruption. For PostgreSQL, use the command docker exec -t postgres pg_dump -U n8n n8n > n8n.sql. For SQLite, simply copy the database.sqlite file. Compress the entire configuration folder with tar -czvf n8n-data.tar.gz ~/.n8n.
To add an extra layer of security, use the n8n CLI to export workflows and credentials:
n8n export:workflow --all --output=/path/to/backups/n8n export:credentials --all --output=/path/to/backups/
Store these backups in a secure location like cloud storage or a private Git repository – don’t leave them on the same machine you’re migrating from. Test your backups by restoring them on a temporary container to ensure they work as expected.
Save Your Environment Variables
Your .env file is the backbone of your n8n configuration. It contains crucial details such as the database connection info (DB_TYPE, DB_POSTGRESDB_DATABASE, DB_POSTGRESDB_USER, DB_POSTGRESDB_PASSWORD), network settings (N8N_HOST, N8N_PROTOCOL, WEBHOOK_URL), and timezone settings (GENERIC_TIMEZONE, TZ). Be aware that mismatched timezones between your local setup and VPS can cause scheduled workflows to trigger at incorrect times.
If you’re planning to enable queue mode with Redis, avoid using N8N_ENCRYPTION_KEY_FILE, as it can cause worker failures. Instead, set the encryption key directly as an environment variable. Consolidate all these settings into a single .env file and store a backup copy securely, ideally in the same password manager where you’ve saved your encryption key.
Once your backups and environment variables are safely stored, you’re ready to begin exporting data from your local n8n setup.
Export Data from Your Local n8n
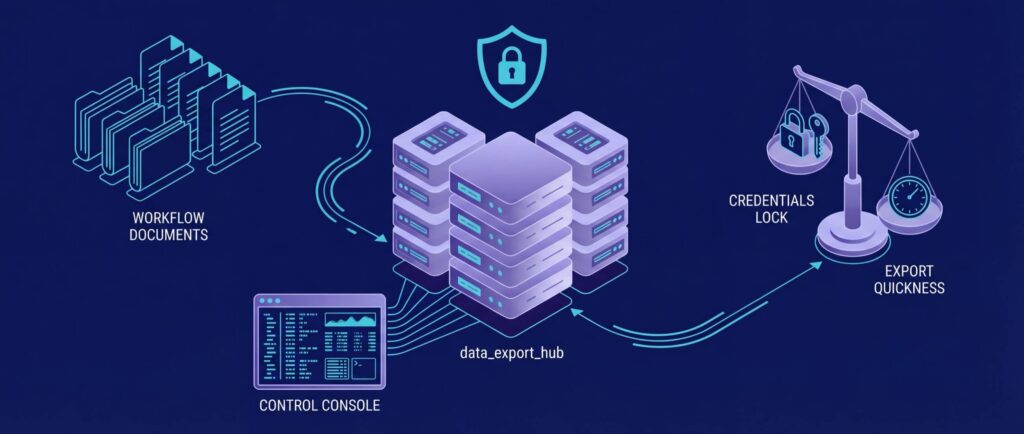
Once your backups are secured and settings are verified, it’s time to export your data. This involves extracting all workflows, credentials, and database files from your local n8n instance. To avoid file corruption during this process, make sure to stop all n8n services first.
Stop n8n Services
Before accessing or copying any files, shut down n8n completely. This ensures that all database writes are finalized and prevents errors like “database is locked.” Here’s how to stop n8n services based on your setup:
- Docker Compose: Run
docker compose stop n8nand confirm the container status withdocker compose ps. The status should display as “Exited.” - Standalone Docker: Identify your container using
docker ps, then stop it withdocker stop <container_id>. - npm Installations: Use
Ctrl+Cin the terminal or runpm2 stop n8n.
Using docker compose stop is ideal, as it pauses containers while retaining volumes. Avoid using docker compose down unless you want to remove containers and networks entirely, which might complicate rollback options.
Export Workflows and Credentials
The n8n CLI provides commands to export workflows and credentials. For Docker installations, use the following commands:
- Export all workflows:
docker compose exec n8n n8n export:workflow --all --output=/home/node/.n8n/backups/workflows.json - Export all credentials:
docker compose exec n8n n8n export:credentials --all --output=/home/node/.n8n/backups/creds.json
For npm-based installations, you can run n8n export:workflow --all and n8n export:credentials --all directly.
If you’re migrating to a system with a different N8N_ENCRYPTION_KEY, include the --decrypted flag when exporting credentials:
n8n export:credentials --all --decrypted --output=backups/decrypted.json
This creates a plain-text file containing sensitive information like API keys and passwords. To protect this data, store it in an encrypted vault immediately and delete it from your disk once the migration is done.
After exporting, copy the JSON files from the container to your local filesystem:
docker cp n8n:/home/node/.n8n/backups ./backups
This step ensures you have a backup outside the container, reducing risks during the transfer process.
Back Up Database and Data Directory
Your database backup method will depend on the type of database you’re using:
- SQLite (default): Copy the database file directly:
cp ~/.n8n/database.sqlite n8n-backup.sqlite - PostgreSQL: Perform a SQL dump:
docker exec -t postgres pg_dump -U n8n n8n > n8n.sql
Additionally, archive your entire .n8n directory. This directory contains the database, configuration files, and any uploaded binary data:
tar -czvf n8n-data.tar.gz ~/.n8n
For named Docker volumes, use this command to create an archive:
docker run --rm -v n8n_data:/data -v $(pwd):/backup alpine tar czvf /backup/n8n-data.tar.gz /data
Set Up Your VPS Environment
Now that your data is safely exported and backed up, it’s time to prepare your VPS for running n8n. This process includes installing Docker, securely transferring files, and configuring environment variables to match your local setup while ensuring reliable performance and accessibility.
Install Docker and Docker Compose
Start by updating your VPS packages with:
sudo apt update && sudo apt upgrade -y
Then, install Docker:
sudo apt install docker.io -y
Enable Docker to start automatically on boot:
sudo systemctl enable docker --now
To add Docker Compose, install the plugin:
sudo apt install docker-compose-plugin -y
This gives you access to the modern docker compose syntax. Verify the installations with:
docker --version
docker compose version
Next, add your user to the Docker group so you don’t need sudo for every Docker command:
sudo usermod -aG docker ${USER}
After running the above, log out and back in to apply the changes. Verify your user is in the Docker group by typing groups.
Using Docker Compose simplifies bundling n8n with tools like PostgreSQL for data persistence and Traefik or Nginx for SSL support – both crucial for production environments.
Transfer Files and Set Up Directories
Set up a dedicated project directory on your VPS to keep everything organized. Use:
mkdir -p ~/n8n-docker && cd ~/n8n-docker
This directory will store your docker-compose.yml, .env file, and other necessary data.
To transfer your data archive from your local machine to the VPS, use SCP:
scp n8n-data.tar.gz user@your-vps-ip:~/n8n-docker/
Once the file is uploaded, extract it:
tar -xzvf n8n-data.tar.gz
If you’re using bind mounts instead of Docker volumes, make sure the directory has the right ownership. The n8n container runs as UID 1000, so adjust permissions to avoid errors:
sudo chown -R 1000:1000 ./n8n_data
For other directories, such as local-files (used by the Read/Write Files from Disk node), create and set permissions with:
mkdir local-files && sudo chown -R 1000:1000 ./local-files
Once the files are in place, you’re ready to configure environment variables.
Configure Environment Variables
Create a .env file in your project directory to store sensitive configurations. This file ensures consistency between your local and VPS setups.
- Set
N8N_ENCRYPTION_KEYto match your local instance. This is critical to avoid credential errors when restoring your workflows. - Define
WEBHOOK_URLwith your HTTPS domain, such as:WEBHOOK_URL=https://n8n.yourdomain.com/ - If running behind a reverse proxy, include:
N8N_HOST=n8n.yourdomain.com N8N_PROTOCOL=https
This prevents mixed-content issues. For databases, if you’re switching to PostgreSQL, include:
DB_TYPE=postgresdb
Add your PostgreSQL credentials as needed.
To ensure proper timezone settings, include:
GENERIC_TIMEZONE=America/New_York
TZ=America/New_York
After creating the .env file, secure it by restricting permissions:
chmod 600 .env
Finally, double-check that any custom environment variables used in your workflows (e.g., {{$env['VARIABLE_NAME']}}) are included in the .env file before starting the container. This ensures everything runs smoothly on your VPS.
Restore Data on the VPS
Restore Database and Data Directory
To restore your n8n data, follow these steps based on your setup:
- For SQLite or bind mounts: Extract the archive into your project directory with this command:
tar -xzvf n8n-data.tar.gz -C ~/n8n-docker/ - For Docker volumes: Use the following command:
docker run --rm -v n8n_data:/data -v $(pwd):/backup alpine tar xzvf /backup/n8n-data.tar.gz -C /data - For PostgreSQL: If you’ve switched to PostgreSQL, start the database container first:
docker compose up -d postgresThen, restore the SQL backup:docker exec -i postgres psql -U n8n n8n < n8n.sql - For MySQL: Use this command to restore the database:
docker exec -i mysql mysql -u n8n -p n8n < n8n.sql
Once you’ve extracted the files, ensure the file ownership is set to UID 1000 by running:
sudo chown -R 1000:1000 ./n8n_data
After restoring the data and adjusting file permissions, it’s critical to verify your encryption key.
Verify Encryption Key Match
The N8N_ENCRYPTION_KEY must match your local instance. This key is essential for decrypting stored credentials. If the key doesn’t match, credentials will appear with red error indicators in the Credentials tab.
To confirm the key, generate a hash on both machines using:
printf "$N8N_ENCRYPTION_KEY" | sha256sum
The output hash should be identical. If you didn’t explicitly set this variable, n8n automatically generated one and stored it in ~/.n8n/config. You can retrieve it from your local backup:
cat n8n_data/config
Locate the encryptionKey value and add it to your VPS .env file. Once the encryption key is verified, you’re ready to start n8n.
Start and Test n8n
Start n8n using Docker Compose:
docker compose up -d
Check the startup logs to ensure everything loads correctly:
docker compose logs -f n8n
To confirm the application is running, test the health endpoint:
curl -I http://localhost:5678/healthz
A 200 OK response indicates the application is up and running. Log in to the UI and inspect the Credentials tab. If any credentials are marked in red, it’s likely due to a mismatched encryption key.
Finally, test a workflow with a webhook. Open the workflow, click “Test URL,” and trigger it using either curl or your browser. If you encounter a 404 error, double-check that the WEBHOOK_URL in your .env file matches your VPS domain.
Switch Traffic with Webhook and DNS Updates
With your VPS up and running and your data restored, it’s time to direct production traffic to your new setup. These final steps ensure a smooth transition from your local server to your VPS.
Update DNS Records and Adjust TTL
TTL (Time to Live) defines how long DNS resolvers cache your server’s IP address. By default, TTL is often set to 24 hours. To make the transition quicker, lower your TTL to 120–300 seconds at least 24–48 hours before migration. This ensures that the new VPS IP propagates globally in minutes instead of hours.
Here’s how to do it:
- Log in to your DNS provider.
- Find the A record for your domain.
- Set the TTL to the lowest value allowed (Cloudflare, for example, allows as low as 120 seconds).
If you’re using Cloudflare’s proxy service (indicated by the orange cloud icon), you might not need to adjust TTL because Cloudflare manages IP changes internally, making the switch almost instant. Once you adjust the TTL, wait out the original TTL period before updating the IP address.
Test Webhooks and Configure SSL
Before redirecting traffic, ensure SSL certificates are set up and webhooks are functioning properly. Use Certbot with Let’s Encrypt to generate free SSL certificates. For Nginx, run the following command:
sudo certbot --nginx -d yourdomain.com
This command automatically configures HTTPS for your domain. Verify the certificate by running:
curl -I https://n8n.yourdomain.com
You should see a 200 OK response. Next, update your .env file with the domain settings for your VPS and restart n8n.
To test webhook functionality, generate a URL in a Production-mode Webhook node. Then, send a test request using this command:
curl -X POST https://n8n.yourdomain.com/webhook/test-path -H "Content-Type: application/json" -d '{"test": "success"}'
This confirms that your reverse proxy and SSL setup are working as expected.
Redirect Production Traffic to Your VPS
Once SSL and webhooks are tested and verified, update the DNS A record to point to your VPS IP address. This redirects all incoming traffic from your local server to your new VPS. Use DNS monitoring tools to track propagation, which should complete within 2–5 minutes if you’ve lowered the TTL correctly.
Keep an eye on your VPS logs by running:
docker compose logs -f n8n
This helps identify and fix errors quickly. If webhooks return 404 errors, double-check that the WEBHOOK_URL in your .envfile matches your public domain exactly. For services like Telegram, manually register the new webhook URL by calling:
https://api.telegram.org/bot<TOKEN>/setWebhook?url=https://n8n.yourdomain.com/webhook/<ID>
You can verify the webhook registration using getWebhookInfo.
Validate and Monitor After Migration
After restoring your data and redirecting traffic, it’s crucial to validate everything to ensure the migration went smoothly. Once DNS propagation is complete, check all n8n components immediately to address any issues before they disrupt workflows.
Check Workflows and Credentials
Start by opening the n8n UI and reviewing the credentials tab. If any credentials are highlighted in red, it means your N8N_ENCRYPTION_KEY is either missing or incorrect. To fix this, you’ll need the exact key from your original .env file. Without it, you’ll have to manually re-enter all credentials.
Next, verify that the number of workflows in your instance matches the original. Check the execution history and run tests. For example, create a test webhook workflow and send a POST request using tools like curl or Postman. If you encounter a 404 error, it likely means the WEBHOOK_URL environment variable doesn’t match your public domain. For Cron-based workflows, confirm that scheduled triggers are working by reviewing the execution logs.
Once workflows and credentials are confirmed, shift your focus to monitoring the server’s performance and resource usage.
Monitor VPS Performance
Use tools like docker compose logs -f n8n to monitor logs and utilities like htop or iostat to track system metrics. Set up alerts to catch resource usage issues early. Keep an eye on CPU or load averages – if they exceed recommended levels, it may indicate server saturation. For those running n8n in queue mode, enable metrics by adding N8N_METRICS=true to your environment variables. This activates a /metrics endpoint that you can monitor with Prometheus.
Watch for excessive swap activity, which can slow performance even if RAM usage seems fine. For disk health, run:
iostat -xz 2
Monitor I/O await times; anything above 25–30 ms on SSD-backed storage is a red flag. Configure alerts to notify you if CPU usage stays above 85% for more than five minutes, RAM usage exceeds 90% with active swap for five minutes, or disk usage surpasses 80%.
Fix Common Issues
Post-migration problems often follow predictable patterns:
- Continuous Restarts: If n8n keeps restarting, double-check the database credentials in your
.envfile. - Permission Errors: These may occur if your host directory isn’t owned by UID 1000. Fix this by running:
sudo chown -R 1000:1000 /path/to/n8n_data - Memory Constraints: If workflows crash due to memory issues, increase the Node.js heap size by adding:
NODE_OPTIONS=--max-old-space-size=2048to your environment variables. - OAuth Errors: Re-authorize connections with third-party services if you encounter OAuth issues after migration. This often happens due to domain changes.
- Webhook Failures: If webhooks work locally but fail on the VPS, ensure your reverse proxy passes the correct headers. Also, make sure only ports 80 and 443 are open on your firewall, as port 5678 should not be publicly accessible.
Rollback Procedures if Needed
If your VPS migration doesn’t go as planned or creates critical problems, having a clear way to revert to your previous setup is essential. This rollback guide will help you get back to your reliable local environment quickly, especially while your local instance and backups remain intact.
Restore Local Backups
Start by stopping your local n8n service to avoid data corruption. If you’re using Docker, you can stop the service with this command: docker compose stop n8n. Next, restore your data directory from the backup you created earlier. Use the following command to extract the backup archive:tar -xzvf n8n-data.tar.gz -C /.
For Docker volumes, you’ll need to create the volume first and use a temporary container to restore the data:docker run --rm -v n8n_data:/data -v $(pwd):/backup alpine tar xzvf /backup/n8n-data.tar.gz -C /.
If you need to restore your database, use the appropriate command for your setup:
- PostgreSQL:
docker exec -i postgres psql -U n8n n8n < n8n.sql - MySQL:
docker exec -i mysql mysql -u n8n -p n8n < n8n.sql - SQLite:
cp n8n.sqlite ~/.n8n/database.sqlite
Once the files are restored, restart your services with docker compose up -d and check the logs using docker compose logs -f n8n to ensure everything is running smoothly. After the restoration, update your network settings to route traffic back to your local setup.
Revert DNS Changes
To redirect traffic back to your local environment, update your DNS records to point to your local IP address or tunnel URL. If you reduced your TTL (Time to Live) before the migration, the changes should propagate within minutes. Keep your VPS running for at least one TTL cycle to catch any cached DNS entries and avoid losing webhook requests.
Update your local .env file to restore the original values for N8N_HOST and WEBHOOK_URL. Once DNS changes have propagated, test webhook functionality in the n8n UI to confirm traffic is flowing back to your local environment. You can monitor DNS propagation with tools like dig or online DNS checking services.
Diagnose and Fix Migration Problems
Use the logs and monitoring data from your VPS to identify what went wrong during the migration. Run docker compose logs -f n8n on the VPS to look for specific error messages. Here are some common issues and their fixes:
- Red credentials in the UI: This usually means the encryption key doesn’t match.
- “QueryFailedError”: Indicates database connection problems.
- Permission errors: Adjust ownership with
sudo chown -R 1000:1000 /path/to/n8n/data. - Webhook 404 errors: Likely caused by incorrect
WEBHOOK_URLsettings. - Restart loops: Often due to incorrect database credentials in the
.envfile.
Document any issues you encounter and confirm that your backups are complete before attempting another migration. To avoid encryption key problems in the future, store the key securely in a password manager like Bitwarden. This preparation will make future migrations smoother.
Conclusion: Complete Your n8n Migration Successfully
Every step of migrating n8n from your local setup to a VPS contributes to a smooth transition. The key to success lies in careful planning, secure data management, and thorough testing.
A successful migration rests on four critical components: the database, data directory, encryption key, and webhook configuration. Missing even one can lead to failed workflows or lost credentials.
Pay special attention to your encryption key – it’s essential for accessing stored credentials. Losing it means losing access to everything. Before starting the migration, stop n8n and take a full VPS snapshot. This step protects against data corruption and allows for a quick rollback if needed.
After the migration, test every workflow and webhook. Ensure workflows display correctly in the UI, check for errors in credentials, and manually trigger webhooks to confirm proper routing. Running both the old and new instances in parallel is a smart way to verify everything operates as expected. And if something goes wrong, your rollback plan will keep your service running smoothly.
If you’re scaling up to handle more workflows, consider enabling Queue Mode with Redis during the migration. This approach spreads tasks across multiple worker containers, preventing bottlenecks as your workload grows. With the right preparation, detailed testing, and a solid rollback strategy, you can move n8n to your VPS with confidence and minimal downtime.