
Want to connect your domain to a VPS? Here’s how you can do it quickly and efficiently:
- Register a Domain Name: Choose a unique, memorable domain for your site. Use auto-renewal to avoid losing it.
- Get Your VPS IP Address: Note your VPS’s IPv4 or IPv6 address from the server control panel.
- Access Your Domain Registrar’s Control Panel: Ensure you have the login credentials and permissions.
- Set Up A Records:
- For the root domain (
example.com): Point it to your VPS IPv4. - For subdomains (
www.example.com): Repeat the process with the same IP.
- For the root domain (
- Wait for DNS Propagation: Changes may take 1–48 hours to update globally.
Alternative Option: Use custom nameservers for full DNS control by installing a DNS server (like BIND) on your VPS.
| Method | Best For | Setup Time | Control Level |
|---|---|---|---|
| A Records | Simple setup for one domain | 5–10 minutes | Basic DNS management |
| Nameservers | Managing multiple domains | 15–30 minutes | Complete DNS customization |
Pro Tip: Always back up your DNS settings before making changes. If issues arise, double-check your A records, clear DNS cache, and verify your VPS setup.
Follow these steps to ensure your domain points correctly to your VPS and your site is accessible to visitors.
Before You Start
To connect your domain to a VPS, you’ll need three key things:
- a registered domain name
- your VPS IP address
- and access to your domain registrar’s control panel
- Here’s a breakdown of each steps:
Register a Domain Name
Your domain serves as your website’s unique address. With some VPS hosting plans from VPS.us, domain name registration is included, making the setup process more convenient.
When choosing a domain, keep these tips in mind:
- Pick a name that’s easy to remember and relevant to your site.
- Check if the domain is available.
- Choose a suitable top-level domain (like .com, .org, or .net).
- Enable auto-renewal to avoid losing your domain unintentionally.
Get a VPS IP Address
Your VPS IP address is what connects your domain name to your server. It’s essentially your server’s “home address” on the internet.
IP addresses come in two formats:
- IPv4: Example – 192.168.1.1
- IPv6: Example – 2001:0db8:85a3:0000:0000:8a2e:0370:7334
While IPv4 is the most widely used, IPv6 provides compatibility for the future.
Domain Control Panel Access
To configure your DNS settings, you’ll need access to your domain registrar’s control panel. Make sure you have:
- Your login details for the registrar’s website
- The necessary permissions to manage the domain
- Access to the DNS zone editor
Pro Tip: Before making any DNS changes, save your current settings. This acts as a backup in case you need to restore them later.
Once you have these ready, you can move on to setting up your DNS using A Records in the next section.
Connect Domain Using A Records
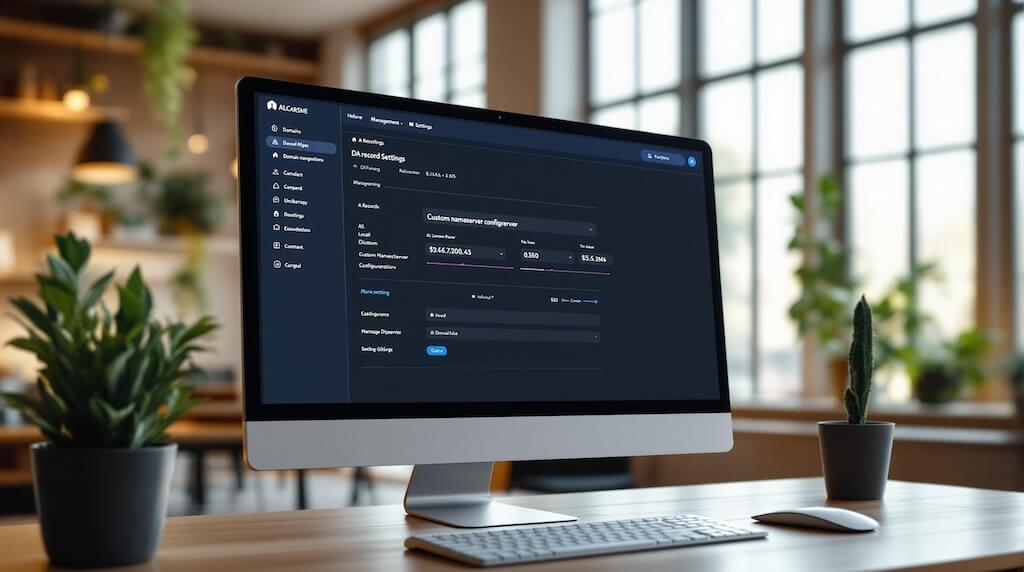
A records are DNS entries that link your domain name to your VPS’s IP address, giving you direct control over how your domain points to your server.
Find Your VPS IP
Log in to your VPS control panel, locate the server overview, and take note of your IPv4 and IPv6 addresses. Save these details in a secure place for later use.
Open DNS Settings
Access your domain registrar account, navigate to the domain management section, and open the DNS settings or Zone Editor for the domain you want to configure.
Set Up A Records
Here’s how to configure your A records:
- For the root domain:
- Host: Use ‘@’ or leave it blank
- Type: A
- Value: Enter your VPS IPv4 address
- TTL: Set it to 3600 seconds (1 hour)
- For the “www” subdomain:
- Host: Use ‘www’
- Type: A
- Value: Enter your VPS IPv4 address
- TTL: 3600 seconds
For additional subdomains, follow the same steps but adjust the Host field to match the specific subdomain.
Once you’ve added these records, save the changes.
Check DNS Updates
Allow at least 1 hour for DNS propagation. Then, verify your setup by:
- Using a DNS lookup tool to confirm the records point to your VPS IP.
- Ensuring your domain resolves correctly to your VPS.
- Testing your website with both domain formats (with and without “www”).
Note: While most DNS updates take 1-4 hours, full propagation across all global DNS servers can take up to 48 hours. If your website still doesn’t load after 48 hours, double-check your A record settings and confirm your VPS web server is set up to handle the requests properly./banner/inline/?id=sbb-itb-0ad7fa2
Connect Domain Using Nameservers
If you want full control over your domain’s DNS settings, you can use custom nameservers instead of standard A records. This approach allows you to manage your domain’s DNS directly on your VPS. While it requires more technical setup, it’s ideal for handling multiple domains and DNS records.
Install DNS Server
Start by installing BIND, a popular DNS server, on your VPS. Run the following commands:
sudo apt-get update
sudo apt-get install bind9
Once installed, configure the main BIND file located at /etc/bind/named.conf. Then, start the BIND service:
systemctl start bind9
To ensure BIND starts automatically on boot, enable it:
systemctl enable bind9
You can verify the installation by checking the service status:
systemctl status bind9
Set Up Nameservers
To set up nameservers, you’ll need to add A records to your DNS zone file. Here’s what they should look like:
ns1.yourdomain.com IN A YOUR.VPS.IP.ADDRESS
ns2.yourdomain.com IN A YOUR.VPS.IP.ADDRESS
Next, register these nameservers with your domain registrar. Most registrars will ask for:
- Hostnames for the nameservers (e.g.,
ns1.yourdomain.com) - The IP address of your VPS
- Your contact details
Change Domain Nameservers
Log in to your domain registrar’s control panel and navigate to the Nameservers section of your domain settings. Replace the existing nameservers with ns1.yourdomain.com and ns2.yourdomain.com, then save your changes. Once updated, you can start configuring your domain’s DNS zone on your VPS.
Set Up DNS Zone
Create a new zone file in the /etc/bind/zones/ directory. This file should include:
- A records for your domain
- MX records for email routing
- CNAME records for subdomains
After updating the zone file, add it to your BIND configuration. Finally, reload BIND to apply the changes:
rndc reload
Keep in mind that DNS changes can take up to 48 hours to fully propagate across the internet.
Fix Common Problems
After setting up your DNS settings, here are some troubleshooting steps to address common issues.
DNS Update Time
DNS changes can take anywhere from 4 to 48 hours to propagate fully. To track the progress:
- Use DNS lookup tools to check your domain’s current DNS records.
- Clear your local DNS cache (on Windows, run
ipconfig /flushdns). - Test using different devices, networks, and locations.
Wrong DNS Settings
If your domain isn’t resolving correctly even though you’ve configured the A record, double-check these DNS settings:
| Setting Type | Common Errors | How to Verify |
|---|---|---|
| A Records | Incorrect IP address | Match it with your VPS control panel. |
| TTL Values | Delays in propagation | Ensure TTL is set for quicker updates. |
| Record Format | Missing trailing dot in FQDN | Check for proper formatting. |
Steps to troubleshoot:
- Confirm your VPS IP address and ensure your DNS record syntax is correct.
- Check that the nameserver entries align with your configuration.
Server Access Issues
If DNS settings are accurate but you’re still facing problems, the issue might be related to server access. Common causes include:
- Firewall restrictions: Make sure ports 80 (HTTP) and 443 (HTTPS) are open.
- Web server configuration: Double-check your virtual host settings.
- SSL certificate issues: Verify the certificate’s validity and installation.
To diagnose server connection problems, use these commands:
systemctl status nginx
sudo ufw status
tail -f /var/log/nginx/error.log
If the problem persists after checking DNS settings, clear your local DNS and browser caches. For further assistance, reach out to your VPS provider or domain registrar.
Security tips while troubleshooting:
- Always keep backups of your DNS configurations.
- Document any changes you make.
- Regularly monitor server logs for unusual activity.
Summary
To connect your domain to your VPS, you’ll need to configure DNS settings carefully. There are two main approaches:
| Method | Ideal For | Setup Time | Level of Control |
|---|---|---|---|
| A Records | Simple setup for a single domain | 5–10 minutes | Basic DNS management |
| Nameservers | Handling multiple domains with custom DNS | 15–30 minutes | Complete DNS control |
Make sure to double-check your setup to ensure all DNS settings are correctly applied.
VPS.us provides fast deployment, high-performance hardware, and 24/7 support. Many of their plans include a free domain name. With 17 global data centers, unmetered traffic, and enterprise-grade infrastructure, they deliver reliable hosting solutions.
Before making any changes, back up your DNS settings and keep a record of your configuration steps. For professional support and quick VPS setup, VPS.us is a solid choice.